It goes without
saying that the best type of light for photography is natural light,
but when this is not available or is too weak to provide a
satisfactory image, we can turn to the use of a flash.
When to use flash
in natural light?
The uses are many, but on sunny days it may surprise you that
the use of flash will lighten those shadows cast on a face by a hat
or a high sun angle et cetera. On our photography tours we’re often
at the edge of a body of water as the sun is rising or setting, and
the use of flash to illuminate foreground subjects such as boats and
tree silhouettes is an effective and pleasing technique as
illustrated by these images . . .

Sunrise, County Dublin, Ireland
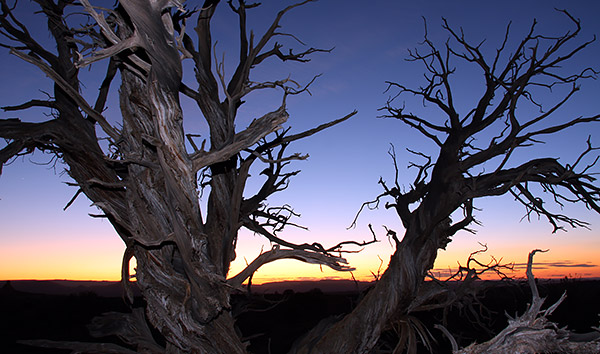
Sunset in Arches national park, Utah
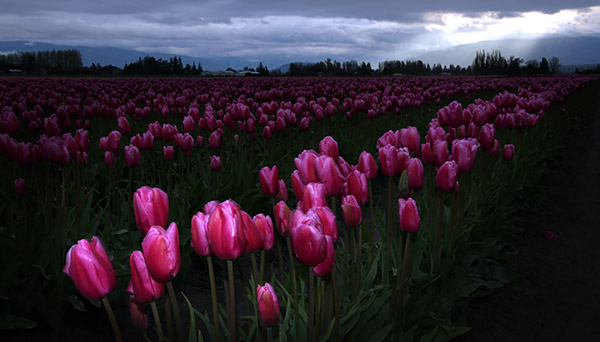
Skagit Valley Tulip Festival, LaConner, Washington
State.
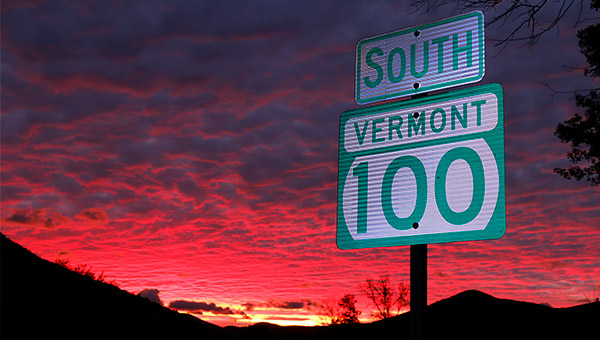
Erm, a sunset somewhere in Vermont!!
The use of direct
fill-flash has illuminated the foreground sufficiently to reveal
subject detail in both images, and neither is washed out, i.e. white
or ‘bleached’. The amount of flash fill is subtle and sufficient.
Reducing the
effects of harsh, direct flash lighting
The problem with direct flash lighting in general is that its
use tends to look ‘unnatural’ and flat. This can be overcome by
using diffusion methods as studio photographers are apt to do with
the use of white, translucent umbrellas. The light from a flash unit
passes through a translucent umbrella, or can be bounced off, with
both techniques providing a similar effect of soft light with no
harsh shadows. This is lighting that is similar to that on a bright,
but cloudy day. Ideal for portraiture, or in some situations,
close-up work.
However, the
majority of camera owners have a flash unit built into their
cameras, and it’s that direct flash that produces flat, harsh
lighting which results in heavy shadows. So how can we overcome this
issue?
Frankly, for cameras
with small built-in flash units little can be done other than to
reduce the flash strength in the flash settings menu. The flash
strength should be adjusted so that its use is not quite obvious . .
. while maintaining its effectiveness. Some form of white,
translucent material covering the flash window is a start, but the
best results are obtained with diffusion methods set at least a few
inches from the flash source as this aids diffusion.
A stand-alone flash
gun is most likely going to be your answer to the harshness of
direct flash. There are flash guns that attach to the ‘hot-shoe’ on
the top of the camera, while others are somewhat more professional
in that they are attached by a bracket to the tripod hole in the
bottom of your camera. With either style you’ll have options of
bouncing the direction of the flash off a wall, a ceiling, or a
white card and so on.
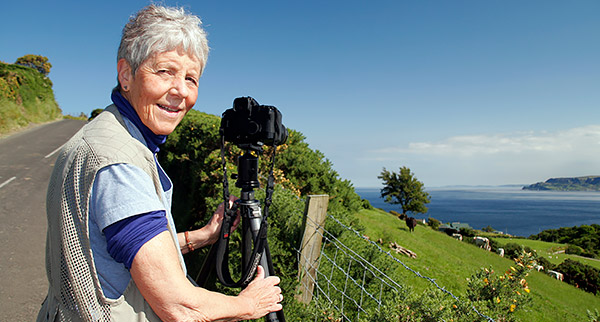
A client on of our Ireland photo tours.
Fill-flash for
portraits
I mentioned earlier that flash is useful for lightening up faces
that have shadows caused by a hat, or a high sun angle. For the
above shot I used fill-flash to lighten the face of a client who
otherwise had heavy shadows across her face caused by direct
sunlight from directly above.

Mont San Michel, Brittany, France
Then the same
technique was used for a completely different situation whereby a
lady at Mont San Michel in France wanted her picture taken in front
of the iconic abbey at twilight. If I had taken a ‘normal’ shot she
would have been silhouetted, so I turned on the in-camera flash to
light up her face. In my opinion the result is pleasing.
Mixing flash with
movement
OK, so we should now be familiar with the use of fill-flash and
the common situations that require its use. But what about moving
subjects? . . .
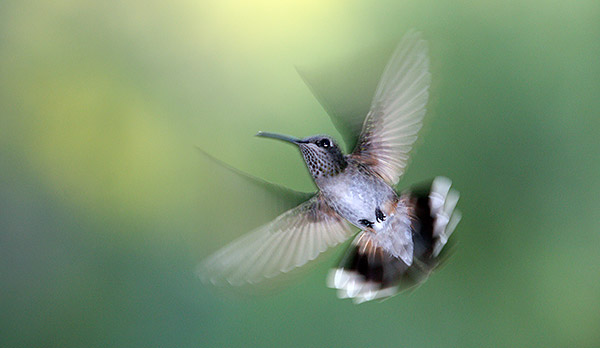
Hummingbird, Cloud Forest, Ecuador.
The image of a
hummingbird is a mixture of fill-flash, a shutter speed of 1/250th
of a second, and a panning technique which entails following your
moving subject in the viewfinder. The result is a double blur, as in
a sharp image which is the result of fill-flash, and the blur
produced by a ‘slow’ shutter speed. 1/250th of a second is not
exactly a slow shutter speed, but when comes to hummingbirds it most
certainly is!
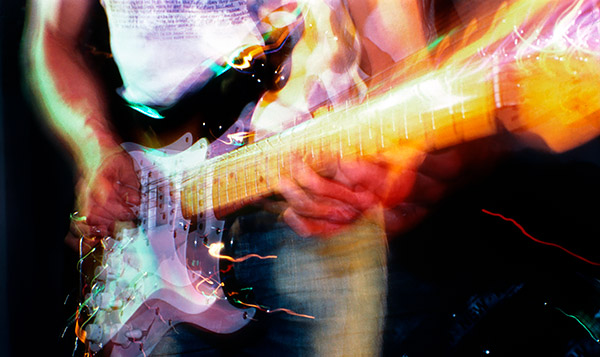
The late Welsh guitarist Tich Gwilym in concert, Caernarfon, Wales.
Lastly, this is an
image of Welsh guitarist Tich Gwilym during a concert that was captured via a
combination of a 1 second shutter exposure, and a multi-flash device
which fired the flash three times during that one second exposure.
Personally I like the shot, and the British photo magazine Practical
Photography thought it
worthy of inclusion too. However, this brings me to the last point
I’d like to make, i.e. photography is not about pleasing other
people with your images, although positive feedback is nice, it’s
really about the images you shoot that please you!

Remember that whatever you photograph, the end result is limited only by your imagination!

