It’s time to get out your tripod for some long exposures!
I'll address deliberate blur and motion via long exposures in another article,
but for now we're talking a steady tripod, your image stabilization turned off,
and a creative mind.
Waterfalls
Waterfalls are an obvious candidate for long exposures, particularly if you like
the 'soft' water look. For some folk the 'soft' approach isn't as pleasing, but
what really counts is shooting in a manner that pleases yourself.
OK, so let's get started with three waterfalls from our
Pacific Northwest photography tours . . .
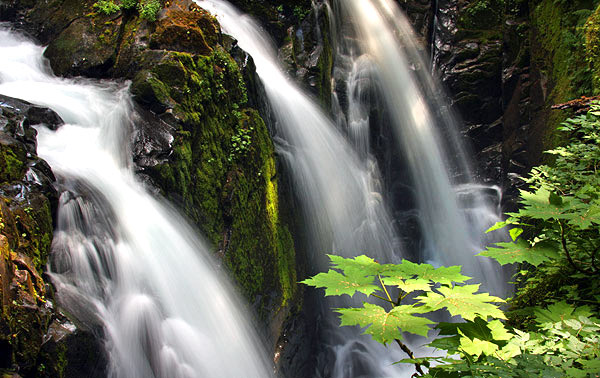
Image 1: Sol duc Falls, Olympic national park, Washington State:
A third of a second at f22
|
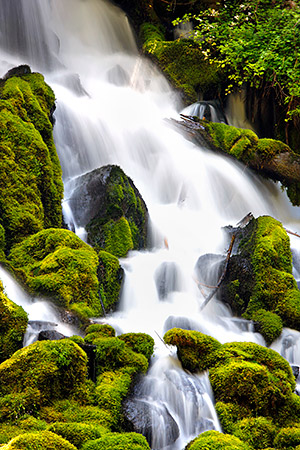
Image 2: Clearwater Falls, Oregon: 1 second @ f11
|
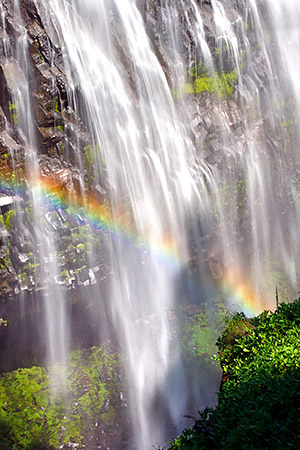
Image 3: Narada Falls, Washington: An 8th of a second
at f29
|
All three images have exposures with shutter speeds of 1/15th
of a second or slower for the desired blur, and the lowest ISO possible.
If your exposures happen to be too long you'll lose the remote
possibility of some kind of detail in the highlights.
Having included the leaves in the foreground of image 1 there
is the risk of them blurring, so I made several exposures in the hope that at
least one had sharp leaves . . . not that there would have been anything wrong
with blurred leaves by the way.
Image 2 is enhanced by green moss on the rocks, which
make an excellent contrast to the water.
Preferred type of light
Overcast light is preferred when shooting waterfalls and forest scenes, as full
or dappled sunlight will bring with it unwanted contrast. In image 3 the
waterfall is in full sunlight but I was able to obtain my soft water effect by
using the smallest aperture possible, in this case f.22, and using a neutral
density filter. If you don't own a neutral density filter a polarizer will
'slow' things by a stop or two.
By the way, the one advantage of full sunlight on a waterfall
is that you are likely to see a rainbow in the spray. The sun has to be behind
you to see this effect.
What goes for waterfalls
. . . also goes for the ocean. The next set of images were exposed using the same
long exposure technique - a low ISO setting and a small aperture - except that I
waited for a wave to wash over the rocks, then released the shutter as the surf
rolled back into the big blue puddle [the ocean!] . . .
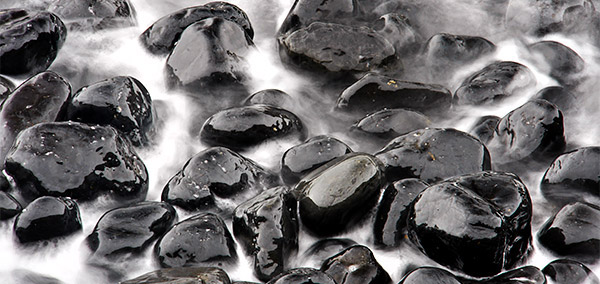
Pebbles, Oregon Coast: A 6th of a second at f36
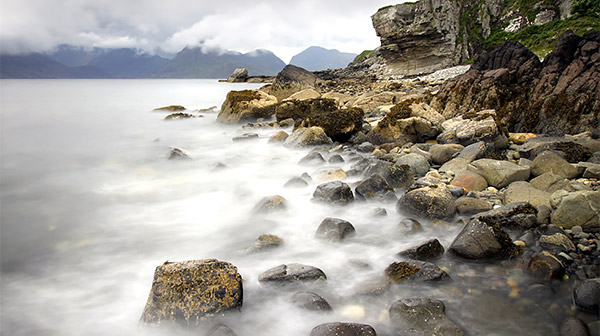
Isle of Skye, Scotland: 10 seconds at f14
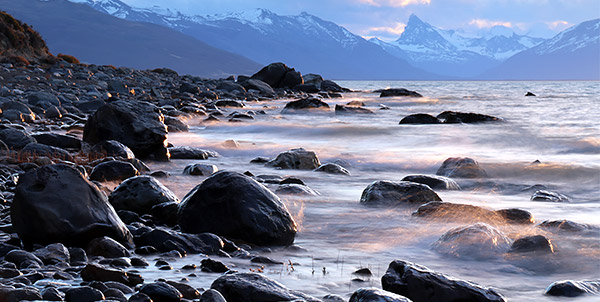
Lake Argentino, Argentina: 1 second at f32
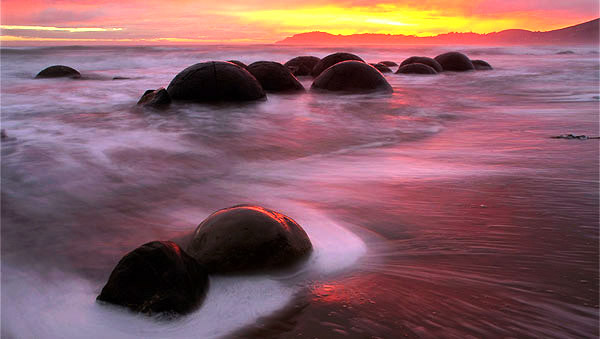
Moeraki Boulders, New Zealand: 2.5 seconds at f20
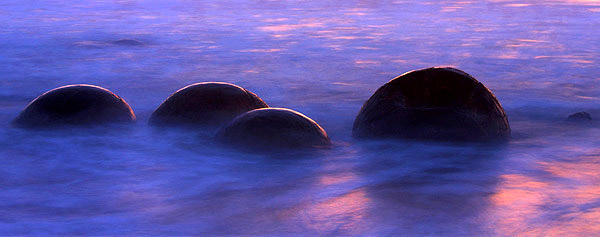
Moeraki Boulders, New Zealand: 6 seconds at f14
Steady as she goes
You don't want any tripod movement when using any of these techniques so I
suggest you use either a cable release, wireless remote or your camera's self
timer. I personally prefer to set the timer delay to two seconds as holding the
shutter button down during long exposures is not recommended!
Vehicle motion
Pretty much the
same technique is needed as for waterfalls and so on if you
intend capturing some vehicle motion at twilight . . .
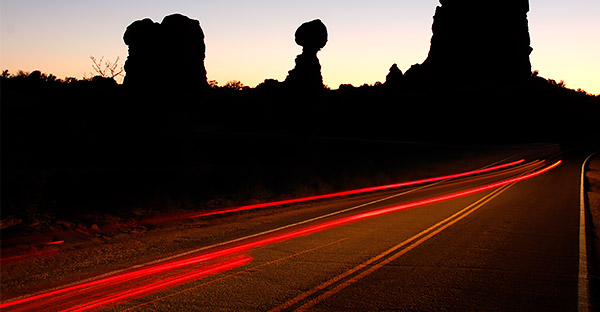
A 5 second exposure in Arches national park, Utah.
|
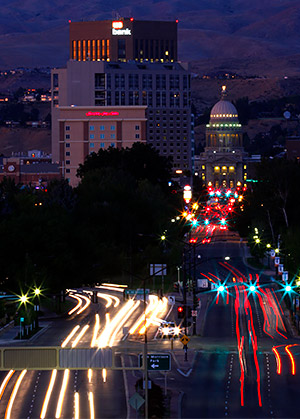
Boise, Idaho: 10 seconds at f32 |
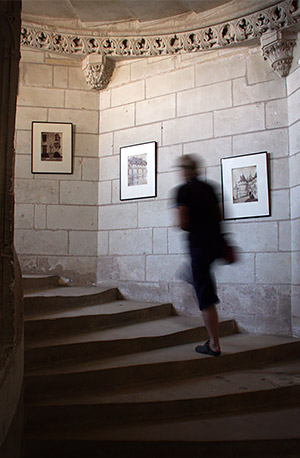
French chateau, Loire Valley, France: 1 fifth
of a second at f14 |
The image above right, has a figure moving through the
scene during a long exposure. It's not exactly 'ghostly', but being shot in a
centuries old French chateau helps!
Now you see them, now you don't
Can you imagine photographing a busy city pedestrian area in the middle of the
day, and not record any people in the frame? Ordinarily the answer is no, but
with long, long exposures the answer is yes.
In a similar vein, the image of clients shooting at twilight
in the Canadian Rockies below, image 8, was a 2.5 seconds @ f.20
exposure. Had the exposure have been considerably longer while the folk kept
moving about, they would have been barely visible in the final image.
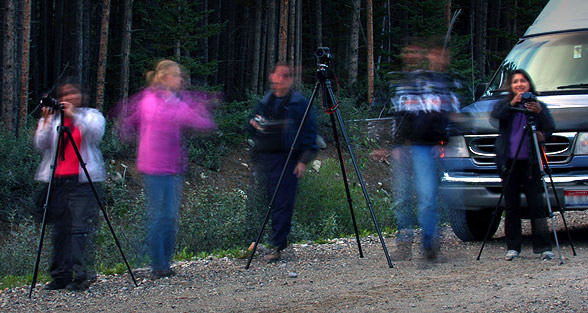
Image 8: Low light frivolity on a Canadian Rockies photo tour
You'll observe that the trees, vehicle and tripods are all sharp.
Just imagine the impact you can achieve with your own choice of subjects. 
Remember that whatever you photograph, the end result is limited only by your imagination!

